The Aeropress is a wonderful coffee brewer that we have spoken about at great length on this site. The main reason for this is that it’s simple, eternal, and seemingly impossible to destroy! It was invented by a company famous for making frisbees (Aerobie) and has since become their largest profit-generating product.
In this article, we’re going to run through all of the things that you need to know when using Aeropress. It’s a straightforward brewer, but there are a few things you can do to boost the coffee you make with it.
How to use the Aeropress
Using the Aeropress is simple – the instructions tell you to place the brewer on top of a mug, add coffee and water, and then plunge, using a paper filter to remove the grounds from your cup.
This is a perfectly valid way of brewing, but we would suggest the inverted method.
The inverted method involves slotting together the plunger and chamber of your Aeropress and placing the Aeropress upside down on your counter. The rubber seal will form a seal to prevent spillage, and the filter holder shouldn’t be placed inside the brewer.
Once upside down, add the coffee to the brewer, followed by hot water. We would recommend filling the brewer with hot water as much as possible to make a tall, tasty drink.
Once the chamber is filled, place a paper filter into the plastic filter cap, and screw it onto the Aeropress. Invert the brewer onto your mug, and then plunge slowly and evenly to ensure an even extraction of coffee flavors and caffeine.
Ensure you totally depress the plunger, and wait for the small ‘hiss’ at the end of plunging that represents all of the pressure from within the brewer dissipating. Following that, you can remove the filter cap, and pop out the small puck of coffee remaining.
This is just one way to brew with the Aeropress, but the truth is that it’s exceptionally versatile and easy to work with. Consider looking for many different options for Aeropress brewing – we’re sure you won’t be disappointed!
Cleaning Instructions
The makeup of the Aeropress makes it very easy to clean. The coffee grounds and filter paper are collected into a small, convenient puck at the base of the brewing chamber. After removing the rigid plastic filter holder, you can depress the plunger a little more to pop the puck out into the trash, or a compost heap.
From there, we would recommend throwing the filter cap into the dishwasher, along with the stirring implement, if you’ve used it to agitate your coffee grounds. Some people place the whole brewer into the dishwasher, which certainly makes the cleanup process easier.
Since the plunger contains a rubber seal that will expand and contract with exposure to heat, we would recommend avoiding dishwashing that part. It can be removed and washed separately, though it might be easier to simply wash the plunger portion of the brewer separately from the rest of the brewer.
Storing Suggestions
There are plenty of different ways to store the Aeropress, and perhaps the best way is to use the carry case that it comes with. The Aeropress is designed to be quite travel-friendly, meaning that you can slot the pieces together and place them within the travel case for easy storage.
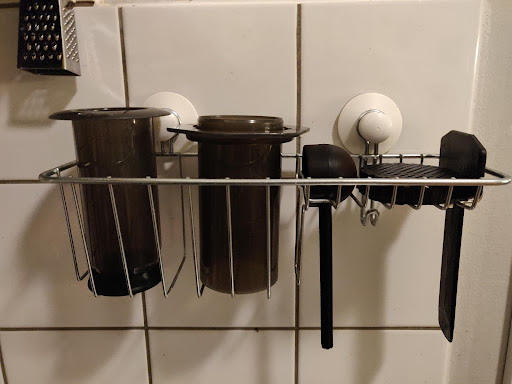
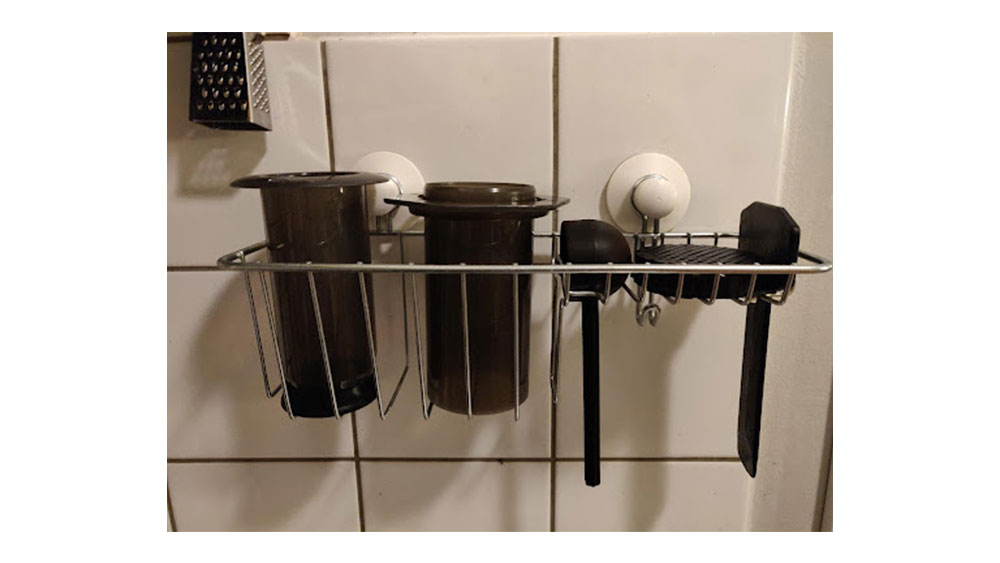
If you’d like things to be a little more on show, however, we might suggest looking online for some of the unique and interesting ways that Aeropresses and their contingent parts are stored. Some enterprising people have used suction-cup shower caddies to place all of the Aeropress pieces in their kitchen – see below for a photo example.

One thing is most definitely for certain, however, you must maintain the life of your rubber seal during the storage process. The way that we would recommend you do this is to totally depress the plunger, such that it pops out of the base of the brewing chamber. Having the chamber squash the rubber a little will lead to it aging prematurely, which is less than ideal.
Alternatively, you could disassemble the Aeropress, and store the plunger and chamber separately. This is another great way to ensure that you don’t crush the rubber seal too much over the course of long-term storage, and it will allow you to keep the pieces to hand, too.
We’ve spoken a lot about prolonging the life of the rubber seal within your Aeropress. This is certainly important, but the part is a serviceable part, and will need to be replaced eventually. You can buy replacements directly from Aerobie, or from a number of proxy stores.
Aeropress Accessories
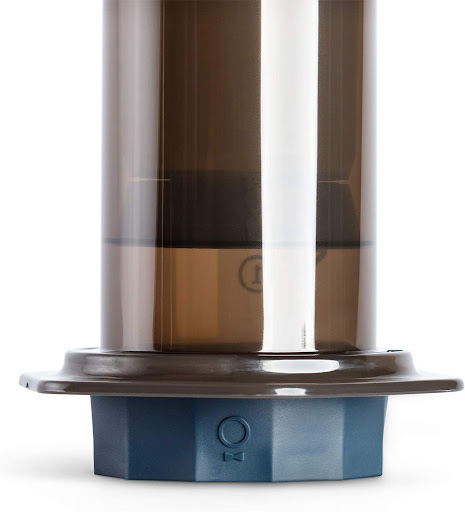
Fellow Prismo

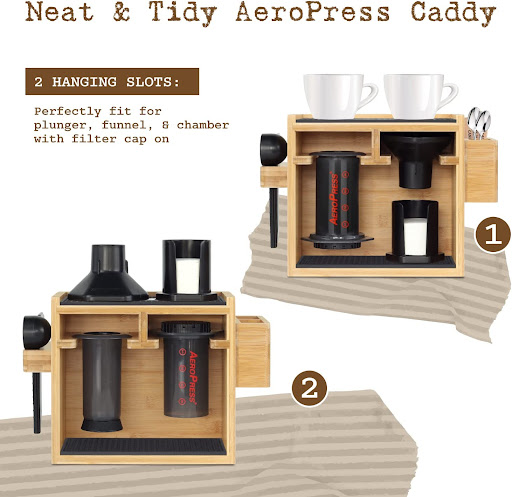
IOCREATIVE Organizer for Aeropress

This wonderful Aeropress caddy is something that we’ve only stumbled across during the research for this article, but we’re a little in love with the product. It’s exceptionally straightforward, essentially just being a box with a set of hanging ridges that you can use for your Aeropress. We love that it’s quite so versatile, though, and that it could bring a boost of joy and excitement to your kitchen in no time at all.
Personally, we adore the thought of placing a couple of your favorite mugs on top of the caddy – a sweet way to personalize your kitchen and your morning coffee routine.
Conclusion
We hope that this article has given you a little insight into the world of the Aeropress. It’s a great thing to have in your home, and a great way to brew coffee. Whether you’ve familiar or just getting started, we hope you use it soon to make a stunning cup!

